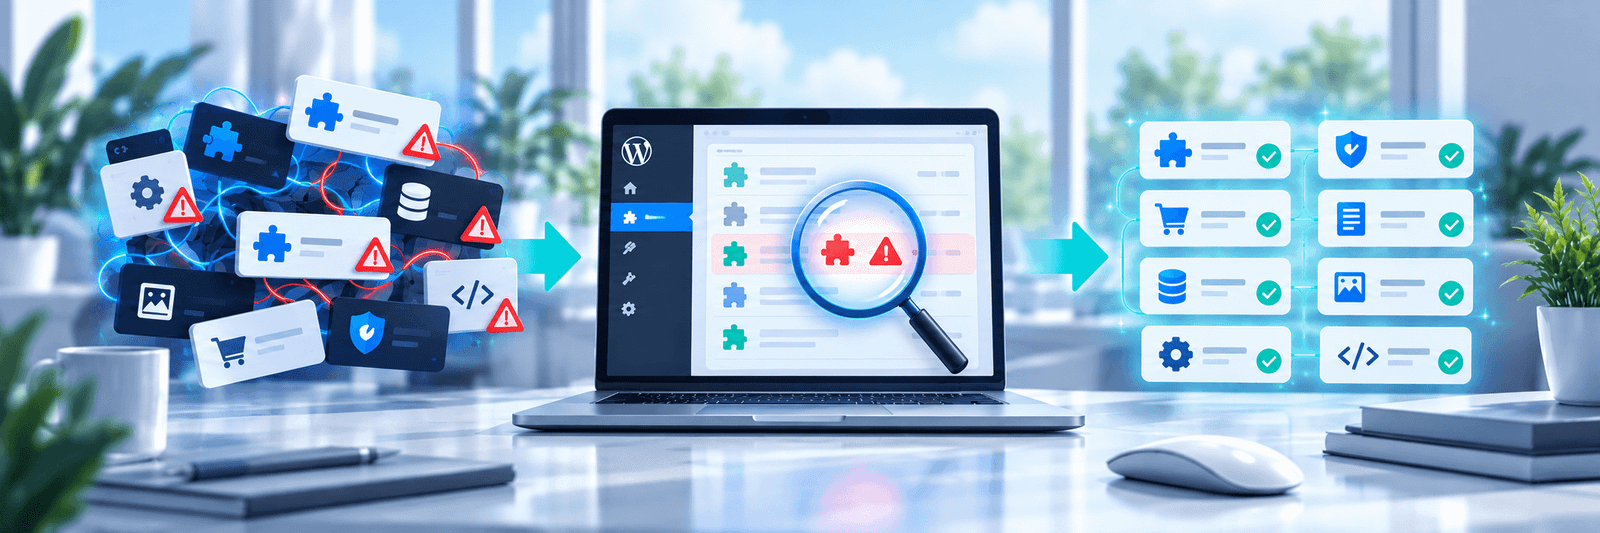
A button stops responding after an update. A settings screen loses its layout. A map disappears. The editor throws an error. The immediate diagnosis is often: “plugin conflict.”
That description is usually correct but not very useful.
A conflict is simply a point where two parts of a WordPress site make incompatible assumptions. The fastest way to solve it is to identify which layer contains that incompatibility.
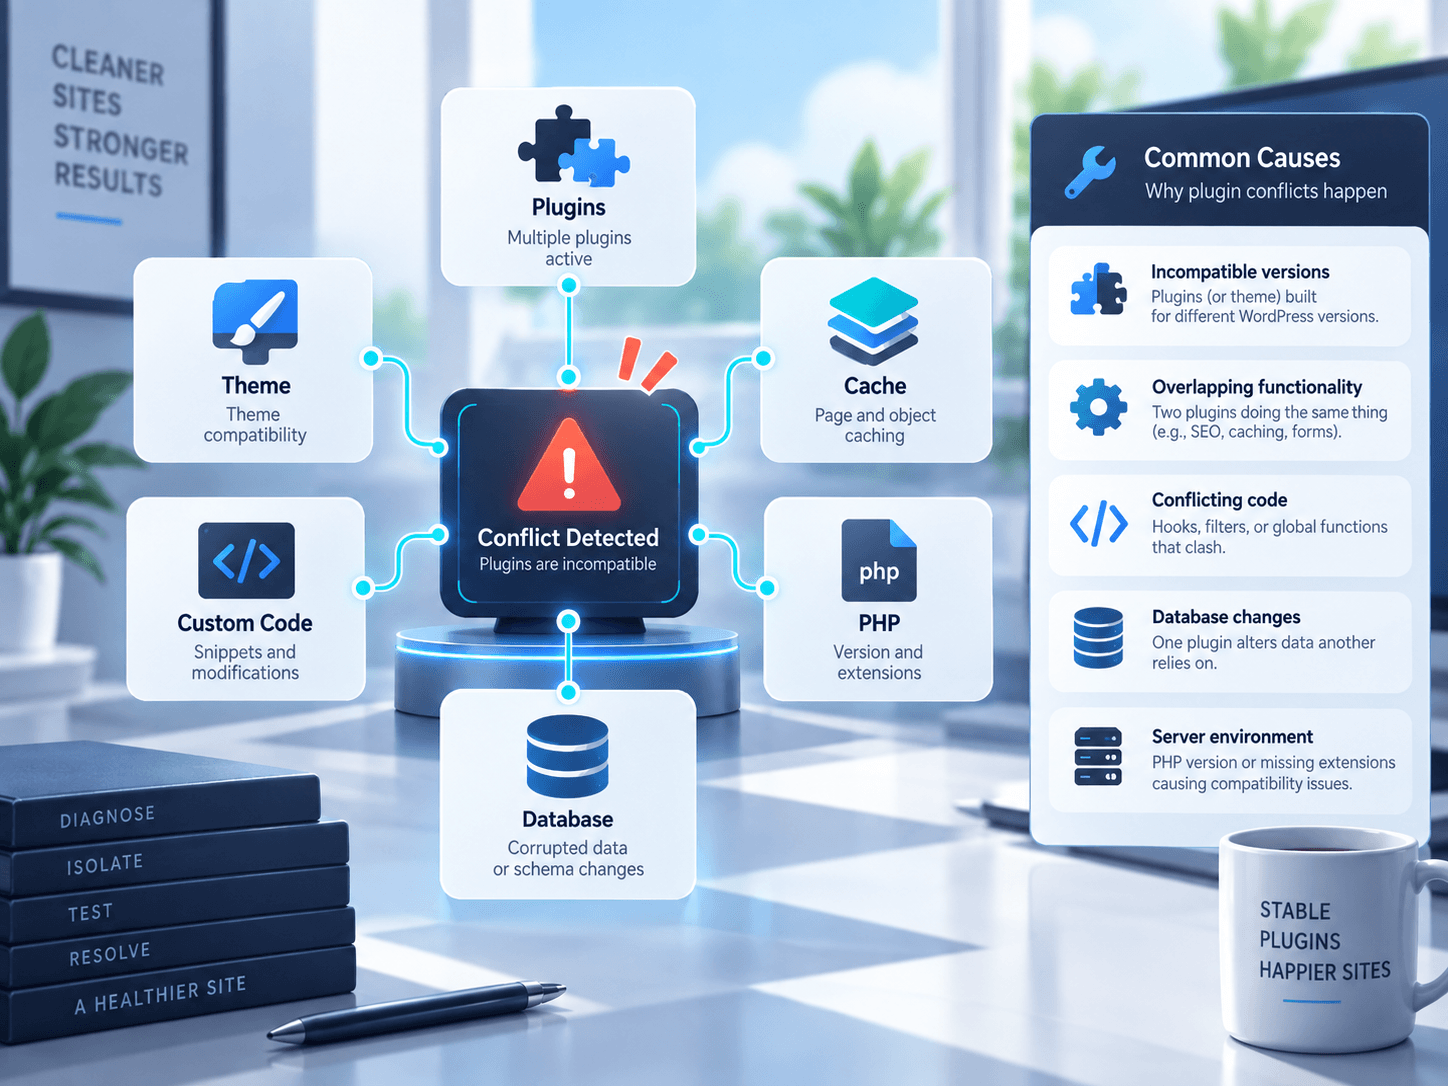
Common sources of plugin conflicts
JavaScript collisions
Two plugins may depend on different versions of a library, initialize the same global object or manipulate the same page element in incompatible ways.
Symptoms include controls that stop responding, broken modals, failed AJAX actions or console errors.
CSS collisions
Broad selectors can cause one plugin’s styles to affect another plugin, the theme or WordPress itself.
An innocent rule such as .button { ... } can create problems if it is not scoped to the plugin’s own interface.
PHP naming collisions
Poorly namespaced functions, classes or constants can collide. Modern WordPress development practices reduce this risk, but older or very simple plugins may still use overly generic names.
Hook priority and filter behavior
Two plugins may both modify the same content, query or output. The order in which they run can change the result.
Neither plugin needs to be “broken” in isolation. The combination can be the problem.
Database or content assumptions
Plugins can disagree about metadata formats, post states, URL structures or how content should be filtered. These conflicts are often more subtle than a visible JavaScript error.
Resource constraints
Sometimes what looks like a conflict is actually memory exhaustion, a timeout or a hosting limit that appears only after another plugin increases workload.
Do not troubleshoot by randomly deactivating plugins on production
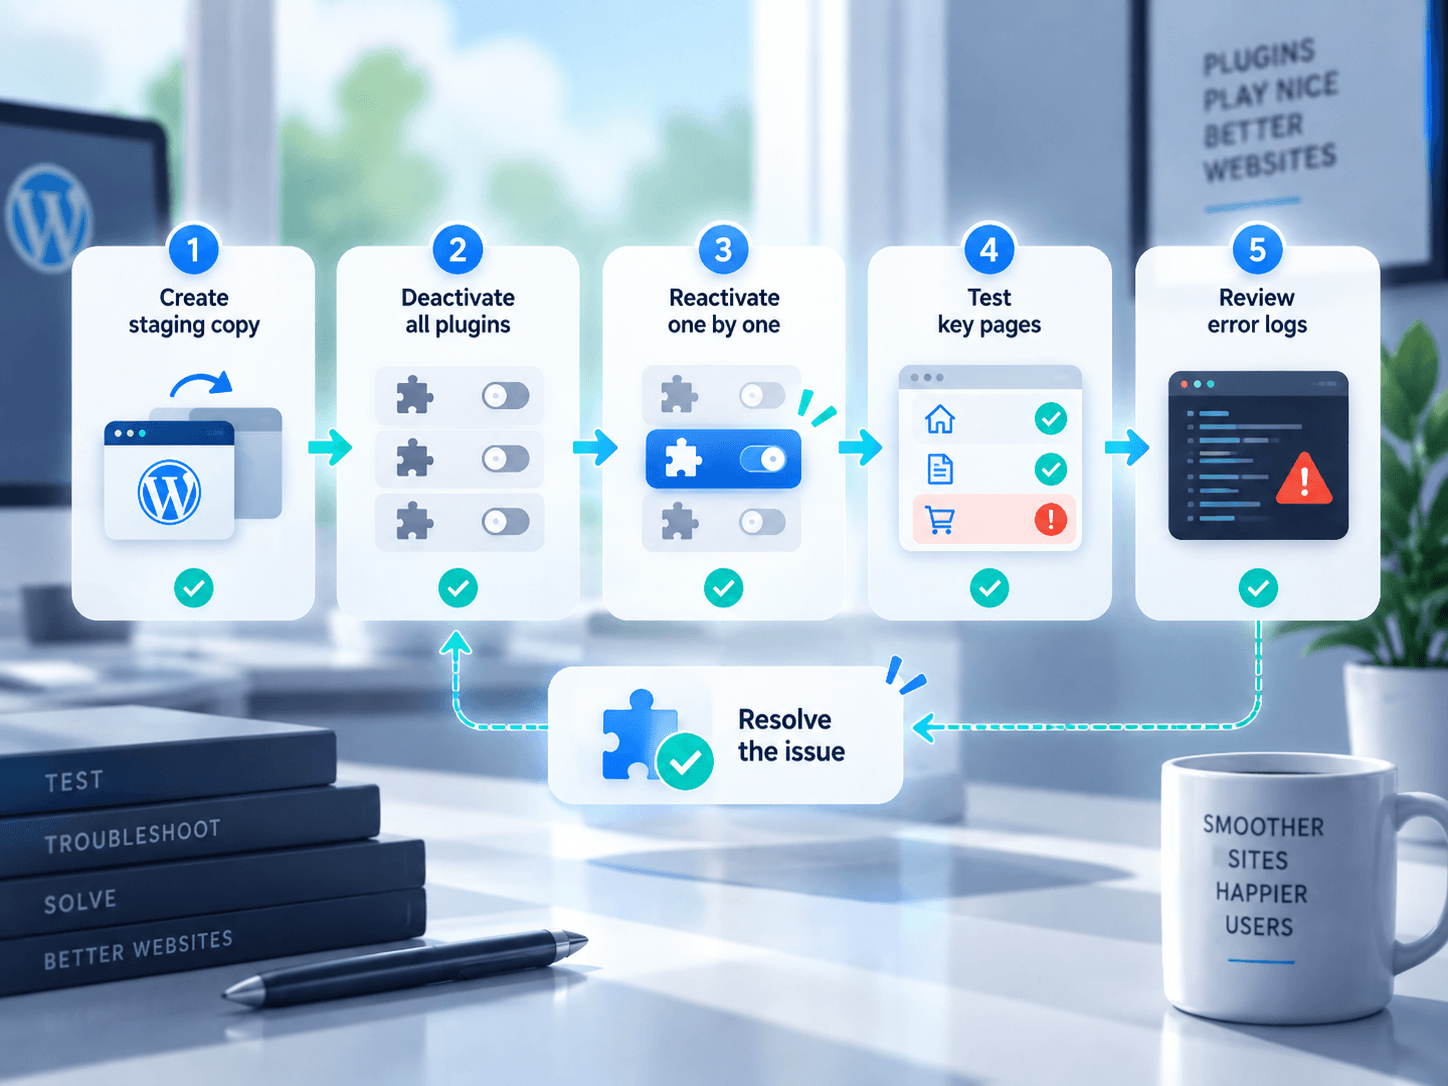
The familiar advice to “deactivate all plugins and turn them on one by one” can work, but doing it directly on a live site may disable forms, payments, caching, security, redirects or other essential functions.
Use a staging environment whenever the site matters.
Before troubleshooting, also make sure you have a recent backup and know how to restore it.
Start with the exact symptom
Write down what changed and where.
A useful problem statement is specific:
“After updating Plugin X from version A to version B, the location search button on the Store Locator page no longer responds in Chrome. The WordPress admin remains normal.”
That immediately gives you more direction than “the website is broken.”
Record:
- the affected URL or admin screen
- the exact action that fails
- whether the issue affects logged-in and logged-out users
- whether it occurs in multiple browsers
- which updates happened recently
- any visible error message
Check the browser console for front-end issues
For broken interactive features, browser developer tools are invaluable.
A JavaScript error can identify the file and sometimes the exact line that failed. Network tools can reveal failed REST requests, blocked assets or server errors.
Even if you are not a developer, copying the precise error into a support request dramatically improves the quality of the diagnosis.
Check WordPress and PHP logs
For server-side failures, enable appropriate debugging on staging and inspect PHP logs.
Look for fatal errors, deprecated-function warnings, permission problems or memory issues. A white screen or generic “critical error” message often becomes far more understandable once the underlying exception is visible.
Do not leave verbose debugging output enabled publicly on a production site.
Isolate the theme
Themes can conflict with plugins too, particularly where templates, scripts and global styles are involved.
On staging, temporarily switch to a standard WordPress theme and reproduce the issue. If the problem disappears, you have narrowed the investigation considerably.
Isolate plugins in groups
If you need to identify a conflicting plugin, a binary-search approach is faster than enabling them one at a time.
Deactivate roughly half of the non-essential plugins on staging and test again.
- If the problem remains, the conflict is probably in the active half.
- If it disappears, the conflict is probably in the deactivated half.
Repeat with smaller groups until you identify the combination.
This can reduce a long plugin list quickly.
Confirm the conflict, not just the participant
Suppose the problem appears only when Plugin A and Plugin B are both active.
That does not automatically tell you which plugin is at fault. Compare expected WordPress practices, error traces and recent changes. One plugin may be using an overly broad CSS selector, while the other merely happens to expose the problem.
A good support report should describe the combination objectively.
Build a reproducible test case
Plugin developers can act far more quickly when they can reproduce an issue.
Reduce the problem to the smallest repeatable scenario:
- clean or staging WordPress installation
- exact theme
- Plugin A version
- Plugin B version
- required settings
- exact steps
- expected result
- actual result
Screenshots and console errors help, but reproducible steps are even more valuable.
Prevent future conflict headaches
Keep the site architecture disciplined:
- remove unused plugins
- avoid overlapping tools without a reason
- test major updates on staging
- maintain backups
- document custom code
- prefer well-scoped plugins
- keep WordPress, themes and plugins maintained
Conflicts will never disappear completely from an extensible platform. What matters is having a process that turns them from mystery into diagnosis.
The best troubleshooting skill is not knowing every possible fix. It is knowing how to reduce uncertainty one layer at a time.